
Short answer
Print the code at roughly one tenth of the distance people will scan it from — 20cm across for a two metre scan. Longer content needs more modules, which makes each one smaller at the same physical size, so shortening your URL often helps more than enlarging the code.
The one-tenth rule
The practical guideline used across the industry is that a code should be about a tenth of its intended scanning distance. Read from 30cm, a code wants to be roughly 3cm. Read from two metres, roughly 20cm.
It is a rule of thumb rather than a specification, and it is deliberately conservative because it has to cover a wide range of camera quality. Treat it as the minimum you design to, not a target to shave down.
The part people miss: content length changes the answer
Two codes at the same physical size can behave completely differently, because the number of modules is set by how much data you encoded.
A short link produces a low-version symbol with relatively few, chunky modules. A long URL with campaign parameters produces a much higher version with far more, much smaller modules squeezed into the same square. The second one needs to be printed larger to be equally readable.
This is why shortening a URL is so often the cheapest fix available. Removing tracking parameters can drop a code several versions, visibly enlarging every module without changing the print size at all.
Working out the real scanning distance
Most sizing mistakes come from designing for the distance the code is viewed at, rather than the distance it is scanned from. These are not the same number.
A poster might be legible from four metres, but nobody scans a code from four metres — they walk closer. Meanwhile a code on a shelf edge might be viewed from a metre but scanned from thirty centimetres.
- Table tent or menu — around 30cm.
- Business card or product label — 15 to 25cm.
- Shelf edge — 30 to 50cm.
- Wall poster in a corridor — 50cm to 1m, because people step in.
- Window display or large format — 1 to 3m, since people cannot step closer.
A method that works
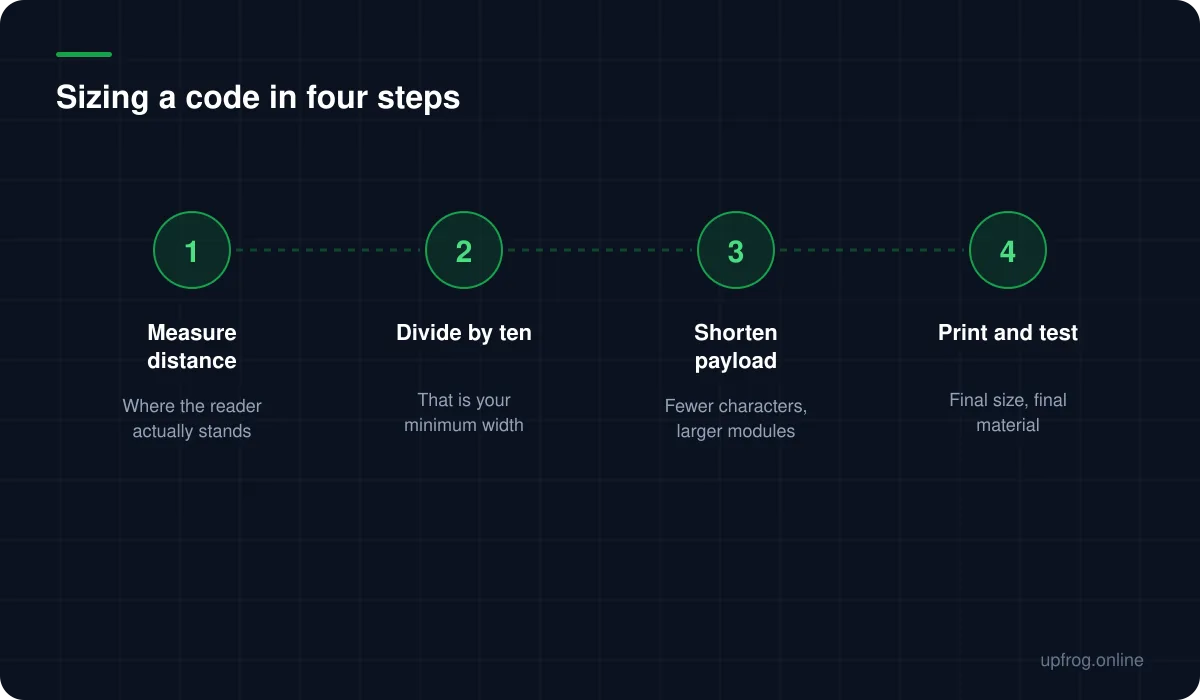
Four steps, done in this order, avoid almost all sizing problems.
- 1
Stand where the reader will stand
Measure it rather than estimating. The number is usually shorter than expected.
- 2
Divide by ten for the minimum width
This is the code itself, before the quiet zone. Add the margin on top.
- 3
Shorten the payload if the code looks dense
Strip campaign parameters, and prefer a short path on your own domain.
- 4
Print one at final size and scan it
On the real material, in the real lighting, at the real distance, at an angle.
Special cases
Very small codes — under about 1.5cm — become unreliable regardless of arithmetic, because printer resolution and ink spread start to blur individual modules. If you genuinely need something that small, keep the payload as short as possible and drop the error correction level to buy back module size.
Very large codes have the opposite problem: some phones struggle to focus on a code that fills the entire frame. If a code will be scanned from close range at large size, that is usually a sign it is bigger than it needs to be.
Frequently asked questions
- What is the minimum size for a printed QR code?
- Around 2cm square is a sensible practical floor for close-range scanning with a short payload. Below about 1.5cm, printer resolution and ink spread start blurring individual modules regardless of how the arithmetic works out.
- Does a longer URL need a bigger QR code?
- Yes. More characters means more modules, and more modules at the same physical size means each one is smaller. Either enlarge the code or shorten the URL — the second is usually easier and free.
- How big should a QR code be on a poster?
- Work from where people will scan rather than where they can see it. Most posters get scanned from under a metre because people step closer, which usually means 8 to 10cm rather than something enormous.
Sources
Specifications and primary documentation referenced above.